How to Add New Transactions
You’ve learned how to add accounts in Budgetwise and are ready to add your first transaction, right? Whether you are recording a new transaction in a spending account or debt account, the process is largely the same.
Creating a New Transaction
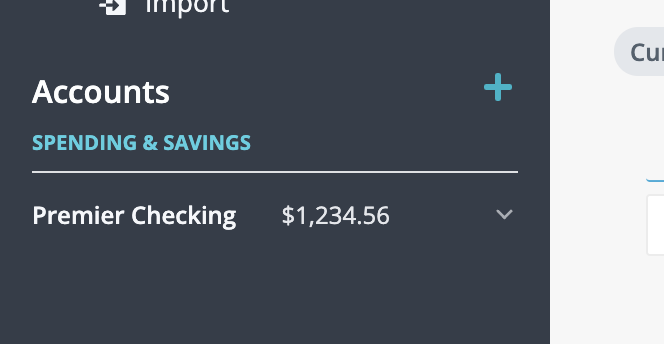
- On the left sidebar, click on the account name that you’d like to record the transaction in, and it will route you to the Account Details page
- On this screen, you will notice a “+ New Transaction” button towards the right side of the screen. Click it to create a new transaction row.

- By default, the Date input will automatically open up and autoselect today’s date for quick data entry. If you need to choose a different date, use the date picker tool to navigate and click on the right date. This is a required field.

- Once you’ve selected a date, the Payee field is next. You can either search through previously created payees to select one, or start typing to make a new one. If you are creating a new payee, click the selection that says “Create [new Payee name]”. The payee field is not required.

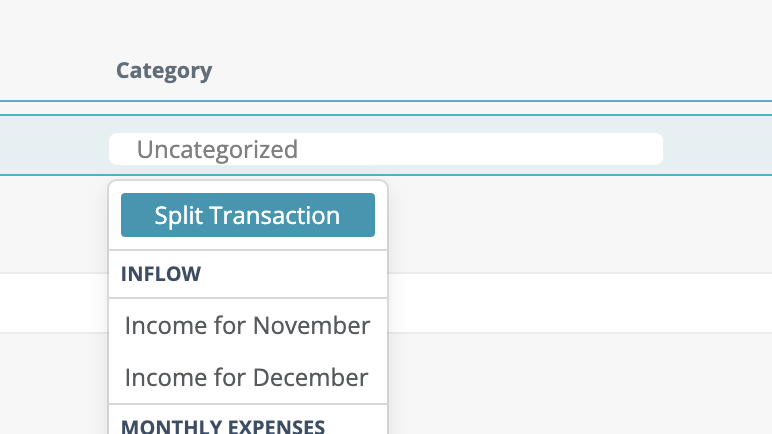
- Next up is the Category field. This field is not required, and leaving it blank will just treat it as an “Uncategorized” transaction that you can revisit anytime. You can also choose whether or not to split this transaction across several categories, treat it as income for this month or next month, or assign it any of the categories you’ve previously created on the Budget screen.
- The next field is Notes, where you can enter any important information or memos you might need to remember about this transaction. This field is not required.
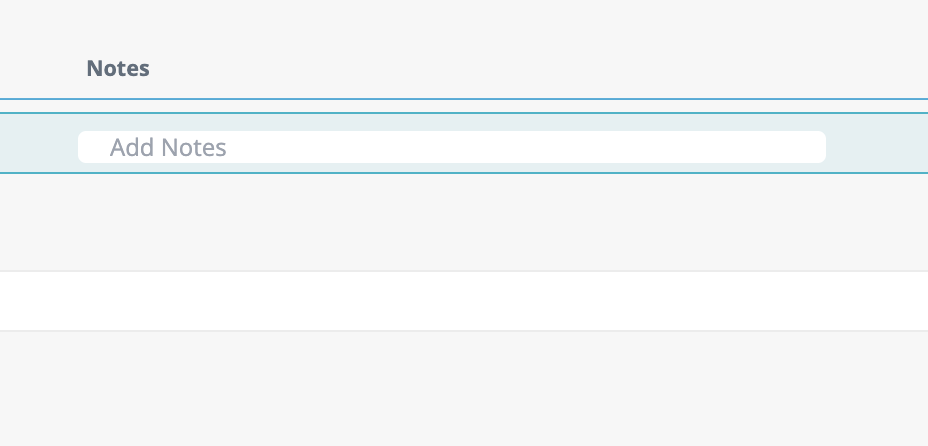
-
Finally, we have our Amount input fields - split into separate columns for Outflow or Inflow, mimicking what you would find on a physical ledger. Except for in the cases of split transactions, you may only have one or the other column filled out, not both.
If it’s money going out or being spent, enter the amount in the Outflow column. If money is coming in and increasing your assets, enter the amount in the Inflow column.
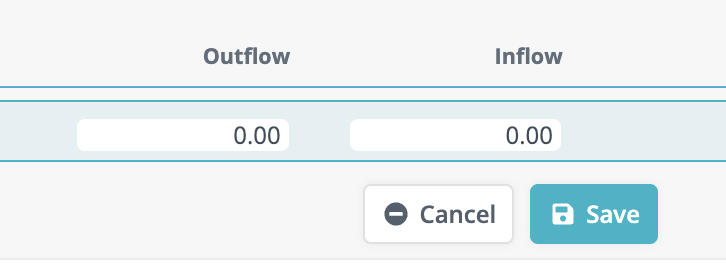
- Once you’ve finished entering your transaction, click the “Save” button and you’re done! So to recap, there are only two required fields: the Date and the Outflow/Inflow. This will come in handy if you are trying to quickly add several transactions but don’t have enough time or information to fill it out more completely.
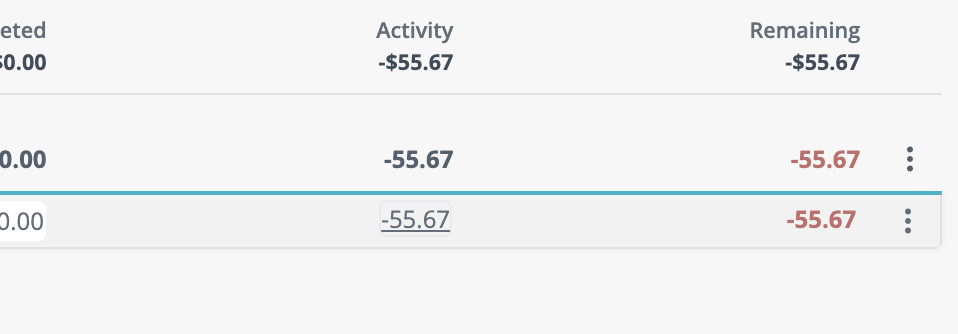
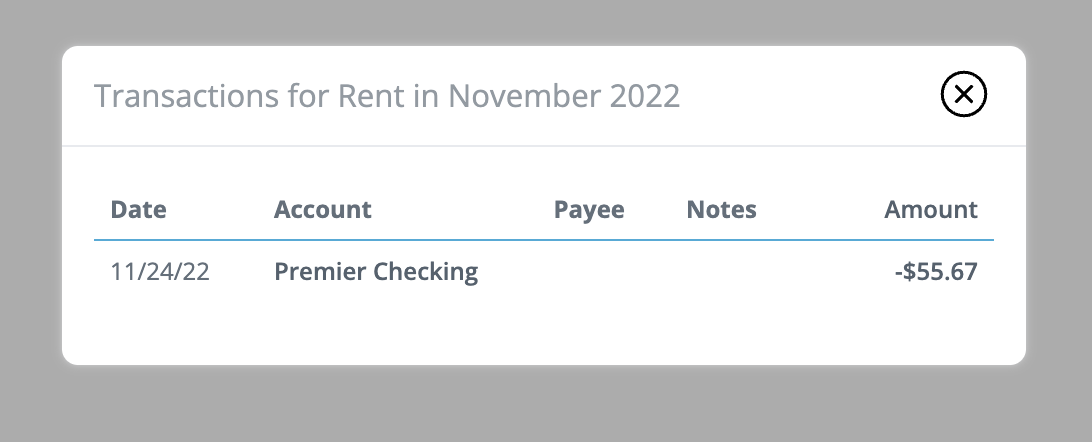
💡 You can verify a transaction has been counted in your budget by going to your Budget page, and clicking in the Activity field for whichever category you assigned to the transaction. For example, if you created a new transaction for the category Rent, you can click on the activity cell and it will show you all transactions recorded for that month, for that category.
