How to Add Category Groups and Categories
Categories, buckets, folders, envelopes - whatever you’d like to call them, a budget needs to be organized into groups for easy management. When you first create an account, you will be greeted with an empty page. By default, Budgetwise will always display your budget when you first log in.
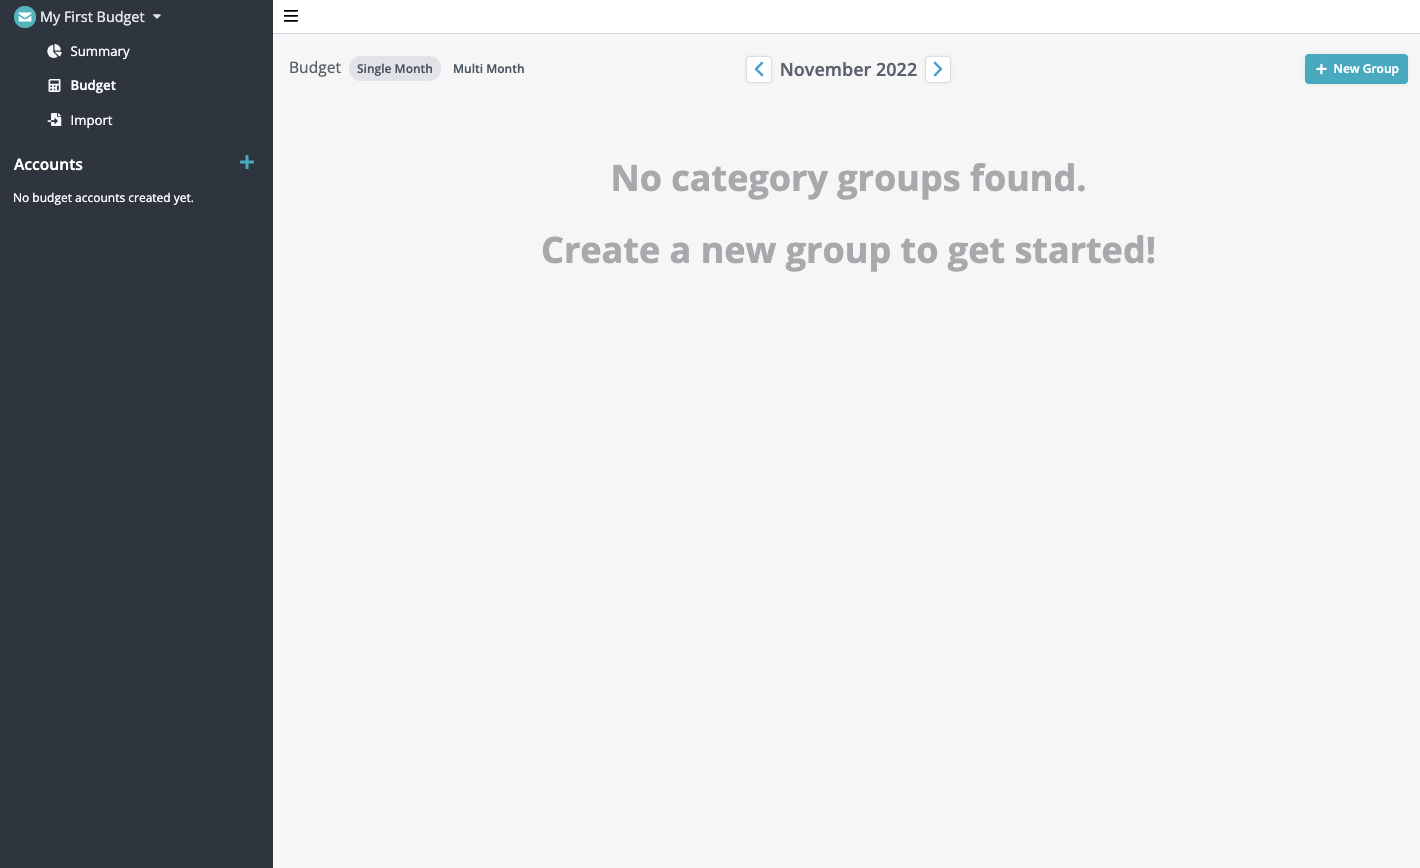
Adding New Category Groups
- Click the “New Group” button
- Give it a name, and either click away or press [Enter] to save it
- Category groups can be re-ordered in whichever order you prefer
💡 How you name your category groups and categories is entirely up to you. Some users prefer to keep things broad, for example “Living Expenses > Groceries, Rent, Utilities”, while others prefer more granularity. For example: “Food > Groceries, Restaurants, Fast Food, Coffee Shops” and “Utilities > Gas, Electric, Water, Sewer”
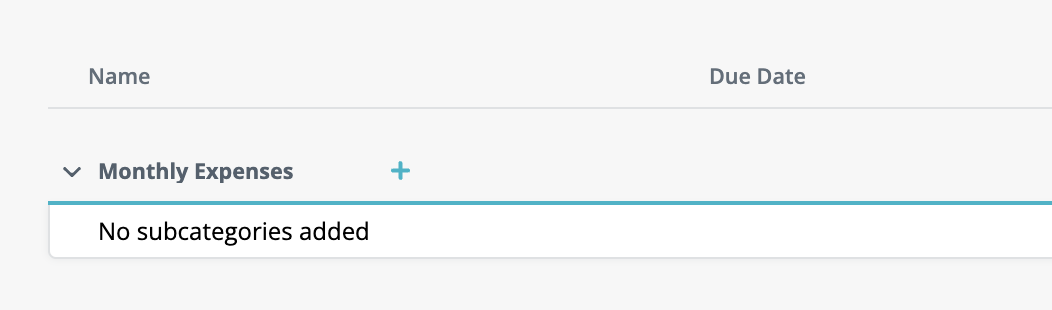
Adding New Categories
To create a new category, click on the + next to the name of the Category Group you’d like to associate the new category with.
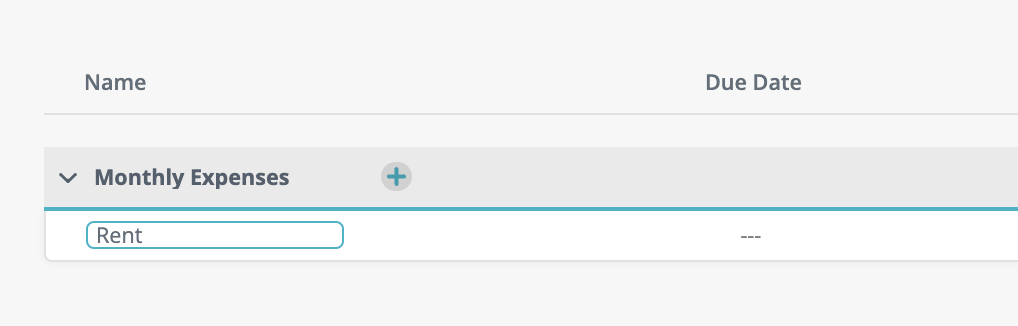
Give the category a name - something descriptive and easy to read. Press Enter, or click away from the input field to save your changes.
And that’s it! You can create as many or as little category groups and categories as you’d like. If you ever need to rename a group or category, simply hover over the name, click to enter editing mode, and press Enter to save your new changes.